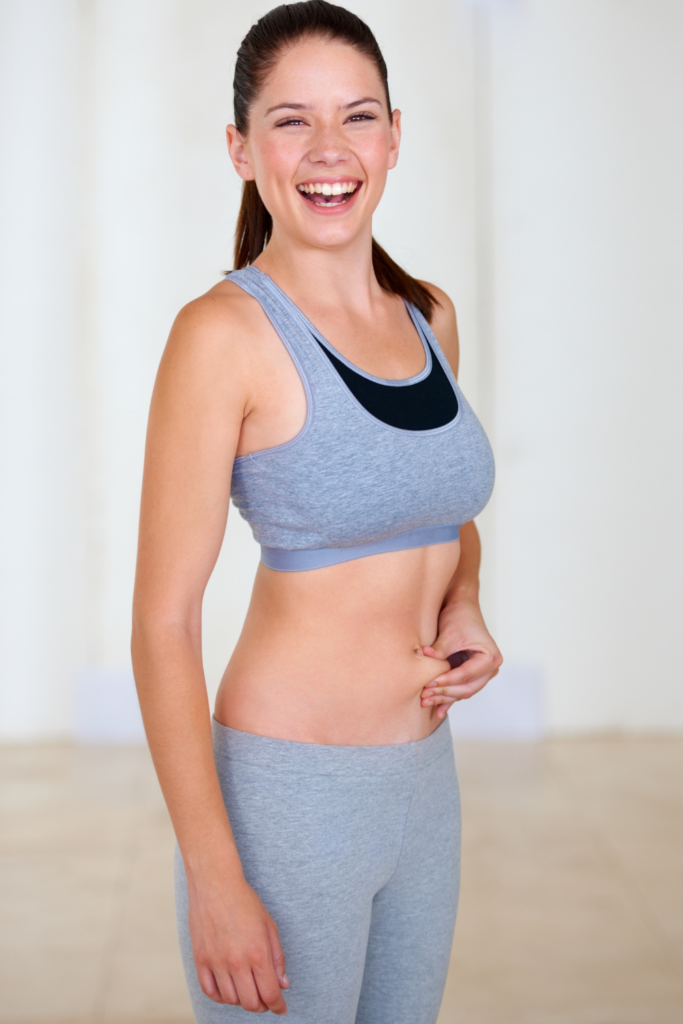
Looking to lose a few pounds around that waistline? Tired of that little pooch you have been carrying around? If so, this article may be of some interest to you. Below, you will find a simplistic, effective 7-day lose belly fat workout plan that can be performed right from home. is appropriate for the beginner and one that can be performed right from home.Whether you’re new to fitness or getting back into a routine, this guide combines a belly fat workout for beginners with light equipment to maximize results without overwhelming your schedule.
Here’s the real truth: No single exercise will provide you with an adequate workout designed to target belly fat. In this article, you will discover how a combination of core strengthening, cardio, and consistency creates a powerful burn belly fat workout strategy that works over time. The plan you see below will focus on a short, effective daily workout routine that only requires minimal equipment that won’t break the bank. Let’s break it down day by day.
Disclaimer: This post contains affiliate links. As an Amazon Associate, I earn from qualifying purchases. If you click and make a purchase, I may earn a small commission at no extra cost to you.
Core Exercises (Day 1 & Day 5)
Plank Hold (Yoga Mat) (Video)
- Start on your forearms and toes with elbows directly under shoulders.
- Keep your body in a straight line from head to heels.
- Engage your core by pulling your belly button inward.
- Avoid letting your hips sag or rise too high.
- Hold for the recommended time while breathing steadily.
Optional Equipment:
- Yoga mat (comfort + stability)
- Weighted vest (adds intensity)
- Core sliders (increase difficulty with movement)
Tip: Keep your neck neutral—look slightly ahead, not down.
Dumbbell Dead Bugs (Video)

- Lie on your back holding light dumbbells above your chest.
- Lift your legs into a tabletop position (knees bent at 90°).
- Slowly lower your right arm and left leg toward the floor.
- Return to center, then switch sides.
- Move slowly to keep your core engaged throughout.
Optional Equipment:
- Light dumbbells (primary resistance)
- Ankle weights (extra lower-body tension)
- Resistance bands (added control and resistance)
Tip: Press your lower back into the mat to avoid arching.
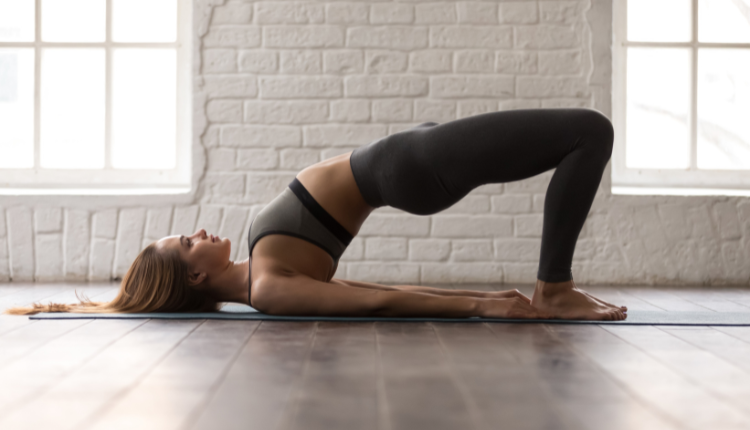
Glute Bridges
- Lie on your back with knees bent and feet flat on the floor.
- Place your arms at your sides.
- Push through your heels to lift your hips upward.
- Squeeze your glutes at the top.
- Lower slowly back down.
Optional Equipment:
- Resistance band (placed above knees for added tension)
- Dumbbell or weight plate (placed on hips)
- Yoga mat (comfort)
Seated Knee Tucks
- Sit on a bench or sturdy chair with hands beside your hips.
- Lean back slightly while keeping your back straight.
- Pull your knees toward your chest.
- Extend your legs back out without touching the floor.
- Repeat in a controlled motion.
Optional Equipment:
- Adjustable bench
- Ankle weights (increase resistance)
- Medicine ball (held between knees for added challenge)
Tip: Keep your core engaged—avoid swinging your legs.
Cardio Movements (Day 2 & Day 6)
Walking Pad / Treadmill Walk
- Stand tall with shoulders relaxed.
- Walk at a steady, comfortable pace.
- Swing your arms naturally.
- Keep your core lightly engaged.
- Increase incline or speed gradually if needed.
Tip: Maintain consistent breathing for endurance.
Optional Equipment:
- Walking pad or treadmill (main cardio tool)
- Incline feature (boost intensity)
- Fitness tracker or smartwatch (monitor steps, calories)
Mountain Climbers (Video)
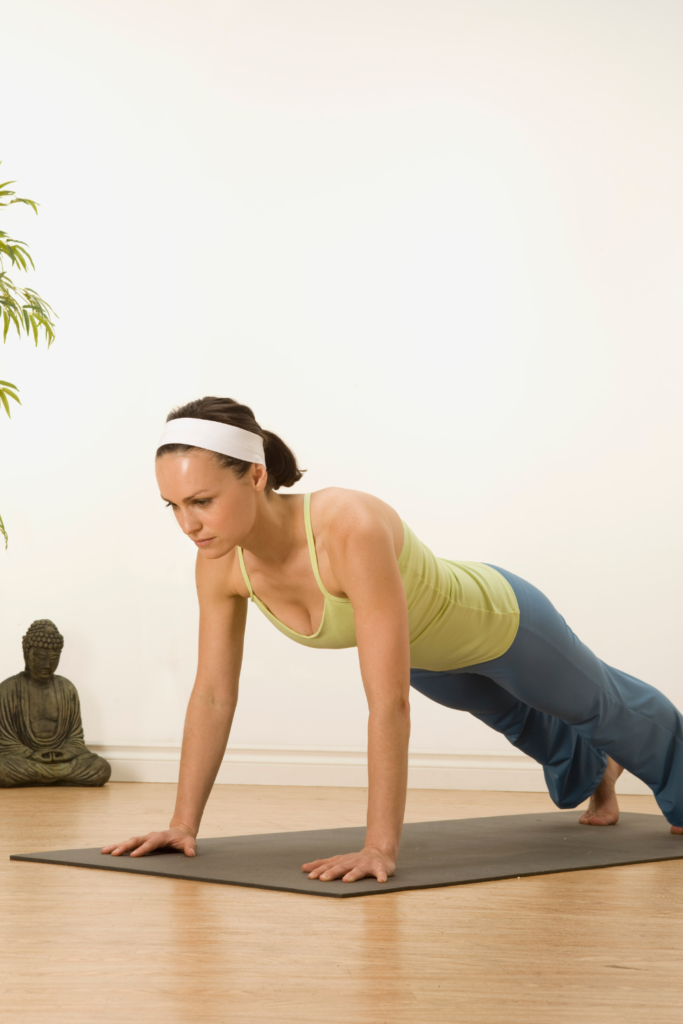
- Start in a high plank position (hands under shoulders).
- Bring one knee toward your chest.
- Quickly switch legs in a running motion.
- Keep your core tight and hips level.
- Continue at a steady pace.
Tip: Don’t rush—control matters more than speed.
Optional Equipment:
- Yoga mat (joint support)
- Core sliders (increase difficulty)
- Weighted vest (advanced intensity boost)
Standing Core Exercises (Day 3)
Standing Knee-to-Elbow Crunch
- Stand tall with feet shoulder-width apart.
- Place hands behind your head.
- Lift one knee while bringing the opposite elbow down.
- Return to start and switch sides.
- Move slowly for better muscle engagement.
Tip: Focus on squeezing your abs with each rep.
Optional Equipment:
- Ankle weights (increase resistance)
- Light dumbbells (added upper-body engagement)
- Resistance bands (for tension)
Dumbbell Side Bends
- Stand with a dumbbell in one hand.
- Keep your back straight and shoulders relaxed.
- Slowly bend sideways toward the dumbbell.
- Return to the starting position.
- Complete reps, then switch sides.
Tip: Avoid leaning forward—stay in a straight plane.
Optional Equipment:
- Dumbbells (primary equipment)
- Kettlebell (alternative resistance)
- Resistance band (for lighter tension option)
Standing March with Weights (Video)
- Hold light dumbbells at your sides.
- Stand tall with core engaged.
- Lift one knee up to hip height.
- Lower and switch legs.
- Continue in a marching rhythm.
Tip: Keep movements controlled, not rushed.
Optional Equipment:
- Light dumbbells
- Ankle weights
- Resistance bands (around thighs for added tension)
Weighted Torso Twists
- Hold a dumbbell or medicine ball at chest height.
- Stand with feet shoulder-width apart.
- Rotate your torso to one side.
- Return to center, then twist to the other side.
- Keep hips stable throughout.
Tip: Move from your core, not your arms.
Optional Equipment:
- Dumbbell or medicine ball
- Resistance band (anchored for tension)
- Cable machine (if available at home gym)
Day 4: Active Recovery + Stretching
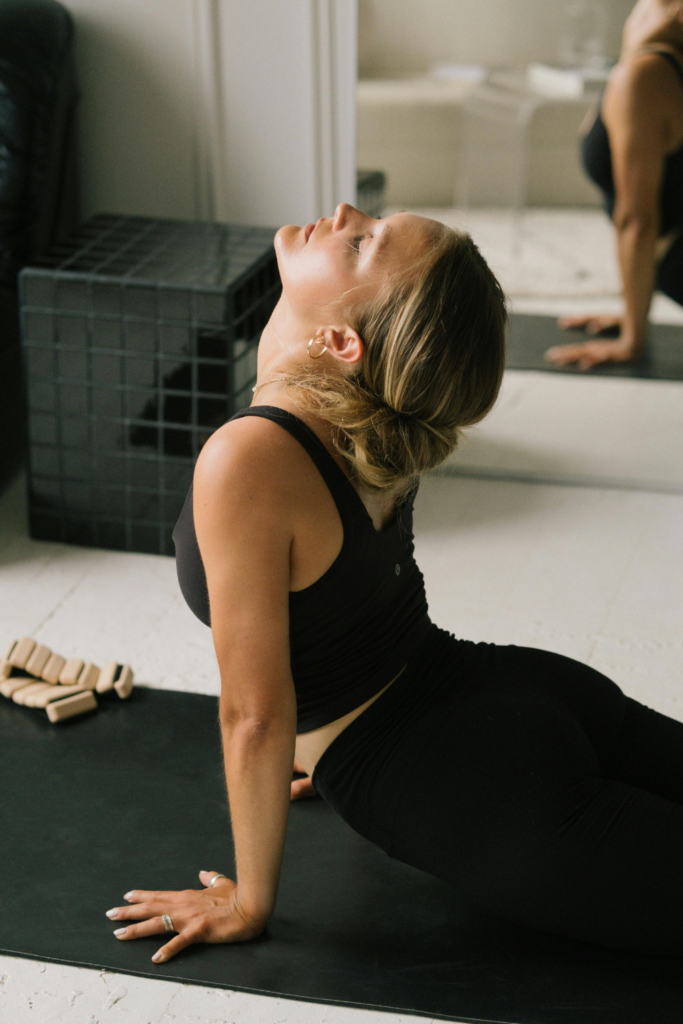
Recovery is crucial in any lose belly fat workout plan.
Routine:
- Full Body Stretch (10–15 minutes)
- Focus on core, hips, and lower back
Optional Equipment:
- Yoga mat
- Foam roller
Why It Works:
Stretching reduces soreness and keeps your body ready for the next burn belly fat workout session.
Resistance Band Core (Day 5)
Resistance Band Bicycle Crunch (Video)
- Lie on your back with a resistance band around your feet.
- Place hands behind your head.
- Bring one knee in while twisting your torso.
- Extend the opposite leg against band resistance.
- Alternate sides slowly.
Optional Equipment:
- Resistance band (primary tool)
- Ankle weights (extra challenge)
- Yoga mat (comfort)
Tip: Focus on control to maximize tension.
Plank with Band Pull
- Get into a plank position with a resistance band in one hand.
- Anchor the band or hold it with the opposite hand.
- Pull the band while maintaining plank position.
- Keep hips steady and core tight.
- Alternate arms if possible.
Tip: Avoid rocking your body side to side.
Optional Equipment:
- Resistance band (primary tool)
- Yoga mat
- Dumbbell (alternative pulling resistance)
Band Russian Twists
- Sit on the floor holding a resistance band.
- Lean back slightly with knees bent.
- Twist your torso from side to side.
- Keep your feet elevated for more intensity.
- Maintain a steady rhythm.
Tip: Keep your core tight to protect your lower back.
Optional Equipment:
- Resistance band
- Medicine ball
- Dumbbell (alternative weight option)
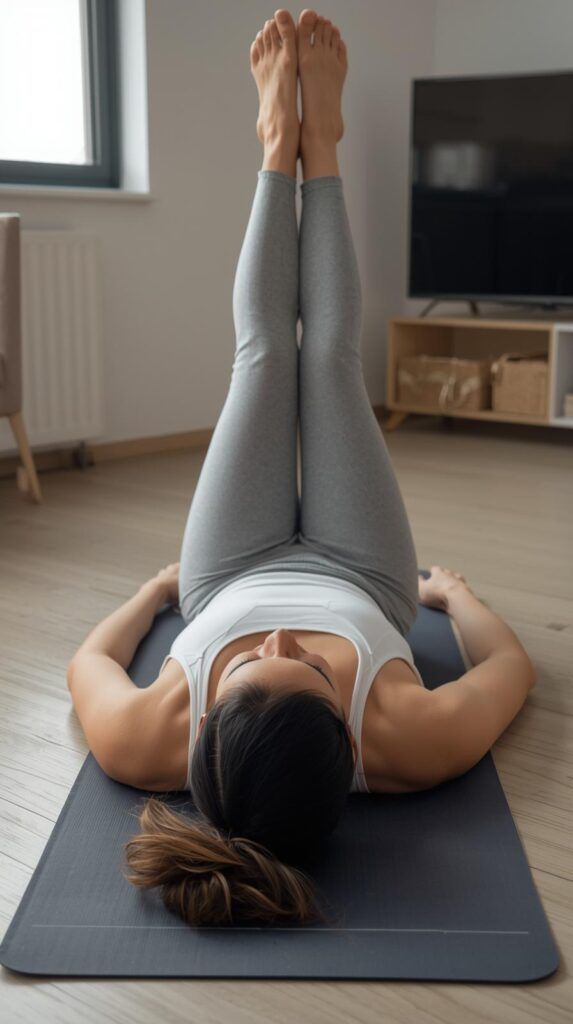
Leg Raises (Yoga Mat)
- Lie flat on your back with legs extended.
- Place hands under your hips for support.
- Lift your legs toward the ceiling.
- Slowly lower them without touching the floor.
- Repeat with control.
Tip: Keep your lower back pressed into the mat.
Optional Equipment:
- Yoga mat
- Ankle weights (added resistance)
- Dip bars or captain’s chair (advanced variation)
Additional Core (Day 6)
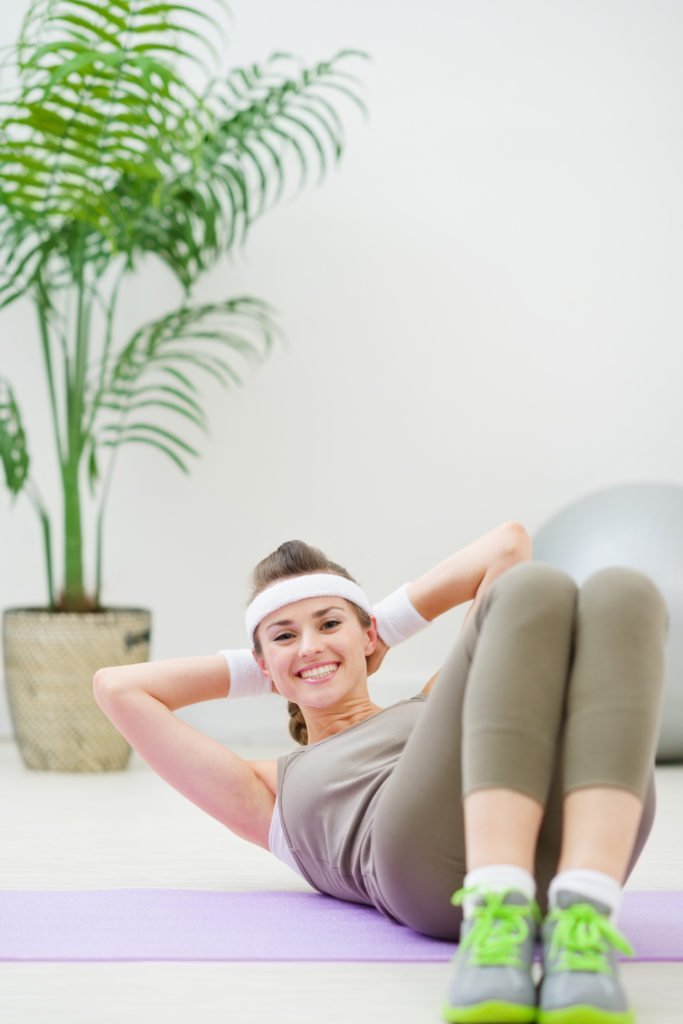
Crunches
- Lie on your back with knees bent.
- Place hands lightly behind your head.
- Lift your shoulders off the mat.
- Engage your core at the top.
- Lower slowly back down.
Tip: Avoid pulling on your neck—use your abs.
Optional Equipment:
- Yoga mat
- Weight plate or dumbbell (held on chest)
- Stability ball (increases range of motion)
Dumbbell Side Bends (Video)
- Stand with a dumbbell in one hand.
- Keep your back straight and shoulders relaxed.
- Slowly bend sideways toward the dumbbell.
- Return to the starting position.
- Complete reps, then switch sides.
Tip: Avoid leaning forward—stay in a straight plane.
Optional Equipment:
- Dumbbells (primary equipment)
- Kettlebell (alternative resistance)
- Resistance band (for lighter tension option)
Standing March with Weights
- Hold light dumbbells at your sides.
- Stand tall with core engaged.
- Lift one knee up to hip height.
- Lower and switch legs.
- Continue in a marching rhythm.
Tip: Keep movements controlled, not rushed.
Optional Equipment:
- Light dumbbells
- Ankle weights
- Resistance bands (around thighs for added tension)
Weighted Torso Twists
- Hold a dumbbell or medicine ball at chest height.
- Stand with feet shoulder-width apart.
- Rotate your torso to one side.
- Return to center, then twist to the other side.
- Keep hips stable throughout.
Tip: Move from your core, not your arms.
Optional Equipment:
- Dumbbell or medicine ball
- Resistance band (anchored for tension)
- Cable machine
Plank with Band Pull
- Get into a plank position with a resistance band in one hand.
- Anchor the band or hold it with the opposite hand.
- Pull the band while maintaining plank position.
- Keep hips steady and core tight.
- Alternate arms if possible.
Tip: Avoid rocking your body side to side.
Optional Equipment:
- Resistance band (primary tool)
- Yoga mat
- Dumbbell (alternative pulling resistance)
Band Russian Twists (Video)
- Sit on the floor holding a resistance band.
- Lean back slightly with knees bent.
- Twist your torso from side to side.
- Keep your feet elevated for more intensity.
- Maintain a steady rhythm.
Tip: Keep your core tight to protect your lower back.
Optional Equipment:
- Resistance band
- Medicine ball
- Dumbbell (alternative weight option)
Leg Raises (Yoga Mat)
- Lie flat on your back with legs extended.
- Place hands under your hips for support.
- Lift your legs toward the ceiling.
- Slowly lower them without touching the floor.
- Repeat with control.
Tip: Keep your lower back pressed into the mat.
Optional Equipment:
- Yoga mat
- Ankle weights (added resistance)
- Dip bars or captain’s chair (advanced variation)
Day 7: Full Rest or Light Movement
Rest is essential for results.
Options:
- Gentle walk
- Light stretching
- Mobility work
Why It Works:
Recovery supports muscle repair and helps you stay consistent long-term.
Essential Equipment for Your Belly Fat Workout Plan
To make your belly fat workout for beginners more effective, here’s what you’ll need:
- Yoga Mat: Comfort and support for floor exercises
- Dumbbells (Light to Medium): Add resistance to core and strength moves
- Resistance Bands: Affordable and versatile
- Walking Pad or Treadmill: Easy daily cardio at home
- Foam Roller: Helps with recovery and muscle soreness
These tools help turn a simple routine into a more powerful burn belly fat workout experience.
What Makes This Plan Beginner-Friendly?
This burn belly fat workout plan works because it:
- Uses simple, easy-to-follow exercises
- Includes low-impact options
- Requires minimal equipment
- Balances effort with recovery
- Builds confidence over time
You don’t need extreme workouts to see results—just a smart, consistent approach.
Final Thoughts
As you can see, this specific workout plan is designed to target the belly, providing a stronger foundation with a flatter stomach. This routine combines strength training, cardio and recovery with a number of fitness products to enhance each workout. Remember, progress takes time. Stick with this belly fat workout for beginners, stay consistent, and gradually increase intensity as you grow stronger. Over time, this balanced burn belly fat workout approach will help you feel more confident, energized, and in control of your fitness journey.
Disclaimer: No content on this site, regardless of date, should ever be used as a substitute for direct medical advice from your doctor or other qualified clinician.